Content Menu
● Introduction
● Why Use a Miter Saw for Cutting Aluminum Extrusions?
● Choosing the Right Blade
● Preparing for the Cut
● Setting Up Your Miter Saw
● The Cutting Process
● Tips for Better Cuts
● Finishing the Cut
● Safety Considerations
● Conclusion
● Frequently Asked Questions
>> 1. Can I use my regular wood-cutting blade to cut aluminum extrusions?
>> 2. How do I prevent the aluminum from melting during cutting?
>> 3. What's the best way to secure aluminum extrusions when cutting?
>> 4. How can I achieve smoother cuts in aluminum extrusions?
>> 5. Is it safe to cut aluminum extrusions with a miter saw?
Introduction
Aluminum extrusions are versatile materials used in various industries and DIY projects. Their lightweight nature, strength, and corrosion resistance make them popular choices for construction, automotive, and home improvement applications. However, working with aluminum extrusions requires specific techniques and tools to achieve precise and clean cuts. In this comprehensive guide, we'll explore how to effectively cut aluminum extrusions using a miter saw, providing you with the knowledge and skills to tackle your next project with confidence.

Why Use a Miter Saw for Cutting Aluminum Extrusions?
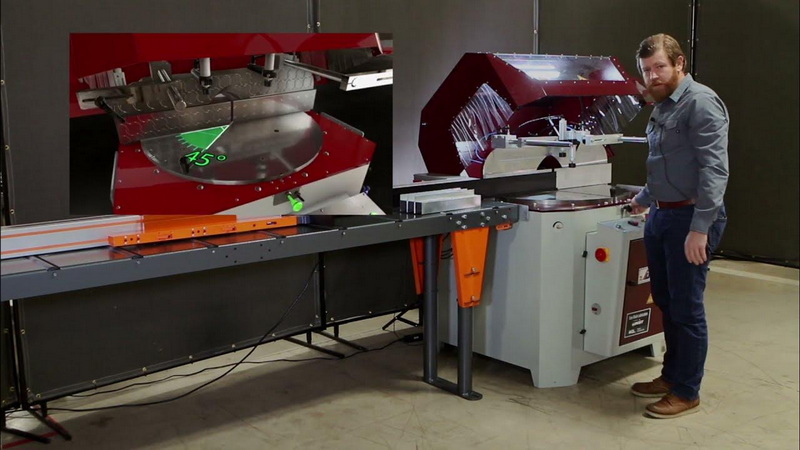
Miter saws are excellent tools for cutting aluminum extrusions due to their ability to make accurate crosscuts and angled cuts. They offer several advantages over other cutting methods:
1. Precision: Miter saws provide clean, accurate cuts, essential for projects requiring tight tolerances.
2. Versatility: They can make straight cuts, miter cuts, and bevel cuts, accommodating various project needs.
3. Speed: Compared to manual cutting methods, miter saws significantly reduce cutting time.
4. Safety: When used correctly, miter saws offer a safer cutting experience than some alternatives.
Choosing the Right Blade
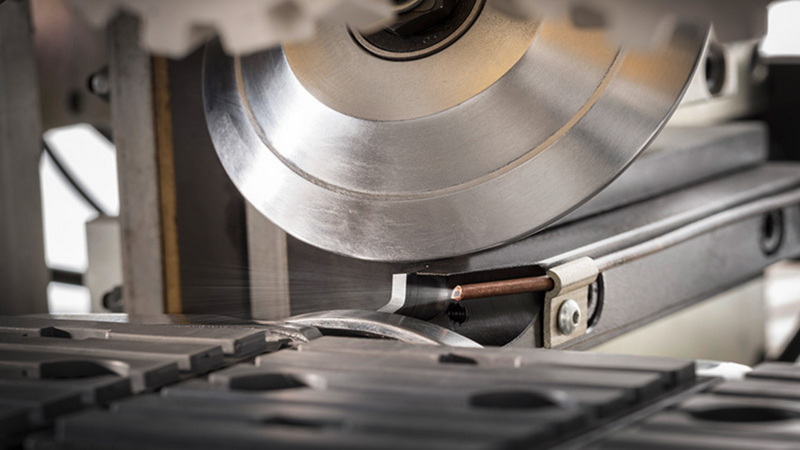
The key to successfully cutting aluminum extrusions with a miter saw lies in selecting the appropriate blade. Here are the characteristics to look for:
1. High Tooth Count: Choose a blade with at least 80 teeth for a 10-inch saw. More teeth result in smoother cuts.
2. Negative Hook Angle: A negative hook angle helps prevent the blade from grabbing the aluminum.
3. Carbide-Tipped: Carbide-tipped blades offer durability and maintain sharpness longer when cutting aluminum.
4. Thin Kerf: A thin kerf blade reduces the amount of material removed, resulting in cleaner cuts.
Some popular blade options for cutting aluminum include the Diablo D1080N and the Freud LU79R010.
Preparing for the Cut
Before you start cutting, it's essential to prepare your workspace and materials:
1. Safety First: Wear safety glasses, hearing protection, and a dust mask. Avoid loose clothing that could get caught in the saw.
2. Clean Workspace: Ensure your work area is clean and free of debris.
3. Measure and Mark: Accurately measure and mark your cutting lines on the aluminum extrusion.
4. Secure the Workpiece: Use clamps or a vise to hold the aluminum extrusion firmly in place. This prevents movement during cutting and ensures safety.

Setting Up Your Miter Saw
Proper setup of your miter saw is crucial for achieving clean, precise cuts:
1. Adjust the Blade: Ensure the blade is sharp and properly aligned.
2. Set the Speed: If your miter saw has variable speed, set it to a lower RPM for cutting aluminum.
3. Angle Adjustment: Set the miter angle according to your project requirements.
4. Depth Stop: For thicker extrusions, you may need to adjust the depth stop to make multiple passes.
The Cutting Process
Now that everything is set up, let's go through the cutting process step by step:
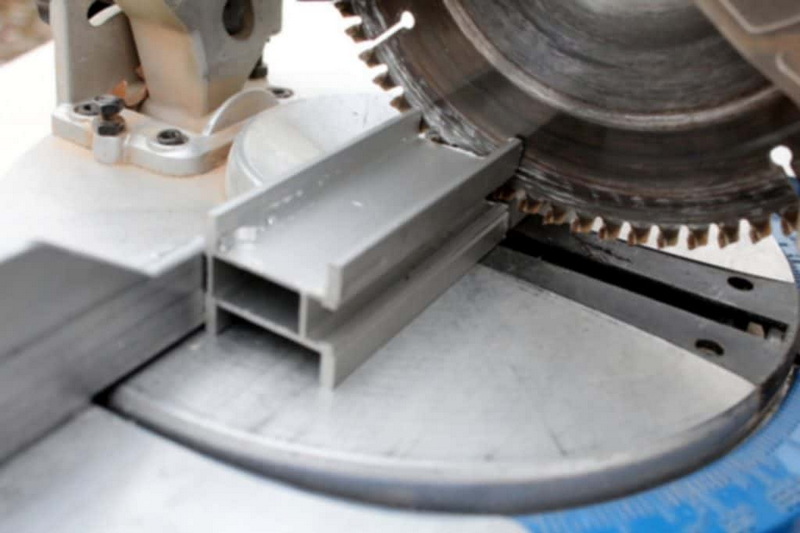
1. Position the Extrusion: Place the aluminum extrusion on the miter saw table, ensuring it's flush against the fence.
2. Align the Blade: Lower the blade (while it's not spinning) to check its alignment with your cut mark.
3. Start the Saw: Turn on the miter saw and allow it to reach full speed before making contact with the aluminum.
4. Make the Cut: Slowly lower the blade into the aluminum extrusion. Let the saw do the work – don't force it.
5. Complete the Cut: Continue through the material until the cut is complete. Keep the blade spinning until it clears the aluminum.
6. Release and Repeat: Release the trigger, allow the blade to stop completely, and raise it before removing the cut piece.
Tips for Better Cuts
To achieve the best results when cutting aluminum extrusions with a miter saw, consider these tips:
1. Use Lubricant: Applying a lubricant like WD-40 or a specific aluminum cutting fluid can help reduce friction and heat buildup.
2. Take Your Time: Rushing the cut can lead to rough edges or even damage to the extrusion or saw blade.
3. Support Long Pieces: For longer extrusions, use support stands to prevent sagging and ensure a straight cut.
4. Make Multiple Passes: For thicker extrusions, consider making multiple shallow passes instead of one deep cut.
5. Clean As You Go: Regularly clear aluminum chips to prevent them from interfering with your cuts or damaging the saw.
Finishing the Cut
After making your cuts, you may need to do some finishing work:
1. Deburring: Use a deburring tool or fine-grit sandpaper to remove any burrs or sharp edges.
2. Cleaning: Wipe down the cut pieces to remove any lubricant or metal shavings.
3. Inspection: Check your cuts for accuracy and smoothness, making any necessary adjustments for future cuts.
Safety Considerations
Safety should always be your top priority when working with power tools:
1. Never remove the blade guard from your miter saw.
2. Keep your hands at least 6 inches away from the blade at all times.
3. Allow the blade to come to a complete stop before lifting it from the cut.
4. Disconnect the power when changing blades or performing maintenance.
5. Regularly inspect your saw and blade for any signs of wear or damage.
Conclusion
Cutting aluminum extrusions with a miter saw can seem daunting at first, but with the right tools, techniques, and safety precautions, it becomes a manageable and efficient process. By following this guide, you'll be well-equipped to tackle your aluminum extrusion projects with confidence and precision.
Remember, practice makes perfect. Start with some scrap pieces to get a feel for the process before moving on to your actual project materials. With time and experience, you'll be making clean, accurate cuts in aluminum extrusions like a pro.

Frequently Asked Questions
To wrap up our guide, here are five common questions about cutting aluminum extrusions with a miter saw, along with their answers:
1. Can I use my regular wood-cutting blade to cut aluminum extrusions?
While it's possible to use a wood-cutting blade, it's not recommended. Wood-cutting blades typically have fewer teeth and a positive hook angle, which can cause the blade to grab the aluminum. For best results and safety, use a blade specifically designed for cutting non-ferrous metals like aluminum.
2. How do I prevent the aluminum from melting during cutting?
To prevent melting, use a lubricant like WD-40 or a specialized aluminum cutting fluid. Also, ensure you're using the correct blade and cutting at an appropriate speed. If your saw has variable speed, use a lower RPM setting for aluminum.
3. What's the best way to secure aluminum extrusions when cutting?
Use clamps or a vise to secure the aluminum extrusion to the miter saw table. For longer pieces, use support stands to prevent sagging. Never try to hold the extrusion by hand while cutting.
4. How can I achieve smoother cuts in aluminum extrusions?
For smoother cuts, use a blade with a high tooth count (80 or more for a 10-inch blade), apply lubricant, and cut slowly and steadily. After cutting, you can use a deburring tool or fine-grit sandpaper to smooth any rough edges.
5. Is it safe to cut aluminum extrusions with a miter saw?
Yes, when done correctly, it's safe to cut aluminum extrusions with a miter saw. Always wear appropriate safety gear (safety glasses, hearing protection, and a dust mask), use the correct blade, secure your workpiece properly, and follow all safety guidelines for your specific saw model.
By following these guidelines and tips, you'll be well-equipped to tackle your aluminum extrusion cutting projects with confidence and precision. Remember to always prioritize safety and take your time to achieve the best results.


