Content Menu
● Understanding Aluminum Extrusions
>> Benefits of Using 40 x 80 Aluminum Extrusions
● Essential Tools for Working with 40 x 80 Aluminum Extrusions
>> Cutting Tools
>> Drilling Tools
>> Fastening Tools
>> Finishing Tools
>> Measuring and Layout Tools
>> Safety Equipment
● Assembly Process
>> Step 1: Measure and Cut
>> Step 2: Drill Holes
>> Step 3: Assemble the Frame
>> Step 4: Final Adjustments
● Tips for Working with Aluminum Extrusions
● Conclusion
● Frequently Asked Questions
>> 1. What is the best way to cut aluminum extrusions?
>> 2. Can I use a regular drill for aluminum?
>> 3. What type of fasteners should I use with aluminum extrusions?
>> 4. How do I ensure my cuts are straight?
>> 5. Is it necessary to deburr aluminum after cutting?
Aluminum extrusions are widely used in various industries due to their lightweight, strength, and versatility. Among the many sizes available, the 40 x 80 mm aluminum extrusion profile is particularly popular for constructing frames, supports, and other structural components. This article will explore the essential tools needed to work with 40 x 80 aluminum extrusions, providing insights into cutting, assembling, and finishing these materials effectively.

Understanding Aluminum Extrusions
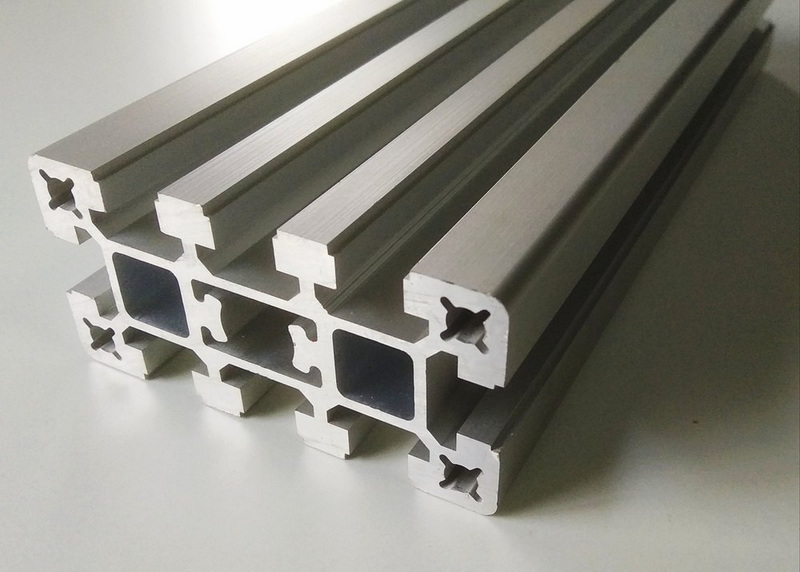
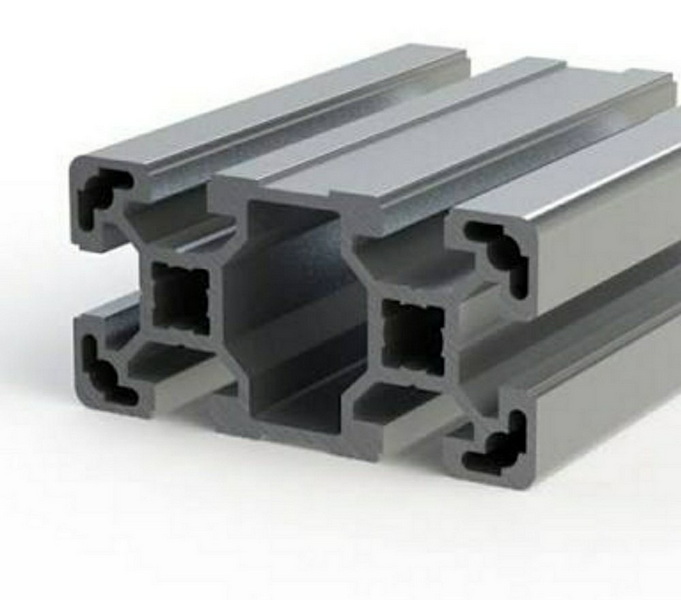
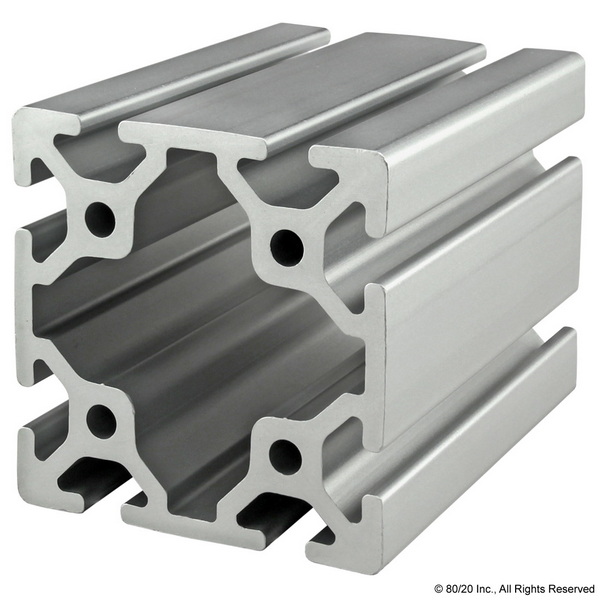
Aluminum extrusions are created by forcing aluminum alloy through a die to create a specific cross-sectional shape. The 40 x 80 mm profile features a rectangular shape with T-slots on the sides, allowing for easy assembly with various connectors and fasteners. This design makes it ideal for building frames for machinery, workstations, and even custom furniture.
Benefits of Using 40 x 80 Aluminum Extrusions
1. Lightweight and Strong: Aluminum is known for its high strength-to-weight ratio, making it an excellent choice for structural applications.
2. Corrosion Resistance: Aluminum naturally forms a protective oxide layer, which helps resist corrosion, making it suitable for both indoor and outdoor use.
3. Versatility: The T-slot design allows for easy modifications and expansions, enabling users to adapt their structures as needed.
4. Ease of Assembly: With the right tools, assembling aluminum extrusions can be straightforward and quick.
Essential Tools for Working with 40 x 80 Aluminum Extrusions
To effectively work with 40 x 80 aluminum extrusions, you will need a variety of tools. Below is a comprehensive list of the essential tools, along with their uses.
Cutting Tools
Cutting aluminum extrusions requires precision and the right equipment. Here are the most common cutting tools:
- Miter Saw: A miter saw equipped with a non-ferrous metal cutting blade is ideal for making accurate crosscuts and miter cuts. Ensure the blade is sharp to prevent burrs and ensure clean cuts.
- Band Saw: A band saw can also be used for cutting aluminum extrusions, especially for longer pieces. It provides a smooth cut and is suitable for intricate shapes.
- Table Saw: For straight cuts, a table saw with a fine-tooth blade can be effective. It allows for precise adjustments and can handle larger pieces of aluminum.
Drilling Tools
Drilling is often necessary for creating holes for fasteners or for mounting components. The following tools are essential:
- Cordless Drill: A cordless drill with variable speed settings is versatile for drilling holes in aluminum. Use high-speed steel (HSS) drill bits designed for metal to achieve the best results.
- Drill Press: For more precision, a drill press can be used. It allows for consistent depth and angle, making it easier to drill multiple holes accurately.
Fastening Tools
To assemble the aluminum extrusions, you will need various fastening tools:
- T-Slot Nuts and Bolts: These are specifically designed for T-slot profiles. They fit into the slots and allow for secure connections without the need for additional hardware.
- Hex Key Wrench: A hex key wrench is essential for tightening the bolts and nuts used in the assembly of aluminum extrusions.
- Clamps: Using clamps can help hold pieces in place while you assemble them, ensuring everything is aligned correctly.
Finishing Tools
After cutting and assembling, you may want to finish the edges or surfaces of the aluminum extrusions:
- Deburring Tool: This tool helps remove sharp edges and burrs from cut aluminum, ensuring a smooth finish and preventing injuries.
- Sanding Block or Power Sander: For larger surfaces, a power sander can be used to smooth out any rough areas.
Measuring and Layout Tools
Accurate measurements are crucial when working with aluminum extrusions:
- Tape Measure: A standard tape measure is essential for measuring lengths and ensuring accurate cuts.
- Square: A carpenter's square helps ensure that cuts are straight and that corners are square during assembly.
- Level: A level is necessary to ensure that your assembled structure is even and stable.
Safety Equipment
Safety should always be a priority when working with tools:
- Safety Glasses: Protect your eyes from metal shavings and debris.
- Hearing Protection: If using power tools, consider wearing ear protection to guard against noise.
- Gloves: Wear gloves to protect your hands from sharp edges and hot surfaces.

Assembly Process
Once you have gathered all the necessary tools, you can begin the assembly process. Here's a step-by-step guide:
Step 1: Measure and Cut
1. Measure the lengths needed for your project using a tape measure.
2. Mark the cut lines clearly on the aluminum extrusion.
3. Cut the extrusions using your chosen cutting tool, ensuring to follow safety protocols.
Step 2: Drill Holes
1. Determine where you need to drill holes for fasteners.
2. Use a drill to create holes at the marked locations, ensuring they are straight and clean.
Step 3: Assemble the Frame
1. Position the extrusions as per your design.
2. Insert T-slot nuts into the slots of the extrusions.
3. Use bolts to connect the pieces, tightening them with a hex key wrench.
Step 4: Final Adjustments
1. Check the alignment of the structure using a level.
2. Make any necessary adjustments to ensure everything is square and stable.
v Step 5: Finishing Touches
1. Deburr any sharp edges.
2. Sand the surfaces if needed for a smoother finish.
Tips for Working with Aluminum Extrusions
- Plan Your Design: Before starting, sketch out your design and plan the cuts and assembly. This will save time and materials.
- Use the Right Blade: Always use blades designed for cutting aluminum to ensure clean cuts and prolong the life of your tools.
- Keep Your Workspace Organized: A tidy workspace helps prevent accidents and makes it easier to find tools and materials.
- Practice Safety: Always wear appropriate safety gear and follow safety protocols when using power tools.
Conclusion
Working with 40 x 80 aluminum extrusions can be a rewarding experience, especially when you have the right tools at your disposal. From cutting and drilling to assembling and finishing, each step requires careful attention to detail and the appropriate equipment. By following the guidelines outlined in this article, you can create strong, durable structures that meet your specific needs.

Frequently Asked Questions
1. What is the best way to cut aluminum extrusions?
The best way to cut aluminum extrusions is to use a miter saw with a non-ferrous metal cutting blade for clean and accurate cuts.
2. Can I use a regular drill for aluminum?
Yes, a regular cordless drill can be used for aluminum, but it is recommended to use high-speed steel (HSS) drill bits designed for metal.
3. What type of fasteners should I use with aluminum extrusions?
T-slot nuts and bolts are specifically designed for use with aluminum extrusions and provide secure connections.
4. How do I ensure my cuts are straight?
Using a square and measuring carefully will help ensure that your cuts are straight. A miter saw also provides accurate cuts.
5. Is it necessary to deburr aluminum after cutting?
Yes, deburring is important to remove sharp edges and prevent injuries during handling.


